|
___________________________________________________
Making A Satin Quilt Background For Your Web Pages Or Stationery In PSP 8
___________________________________________________
You will need PSP for this tutorial to get a free
trial of the latest version to play with for 30 days
download it here.

To create the Satin Square Background you will
need the Plug-in Filter Simple get it here:
NOTE: If you are using PSP 7 you may want to
get the Plug-in Filter Factory Gallery A.
NOTE: Filters use a format originally designed
for Adobe Photoshop, PSP can read this format,
but it needs an additional file called msvcrt10.dll
to be placed in the Windows/System folder.
If you don't have it you can get it
here
You may be able to adapt this tutorial
for earlier versions of PSP, I have included
instruction to adapt it in PSP 7.
Elfie Creations ©
<<;-)
___________________________________________________
Satin Quilt Background
___________________________________________________
1.) Open image transparent 16 mil. colors size 200 x 200.
(Flood Fill with white for plain background.)
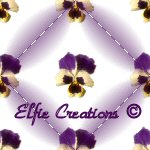
2.) Select a tube and click it into the center
or use a gif with transparent background,
such as the one above, you may right click
on it and save it to your Hard Drive to use
it select it with your magic wand then go
to Selections/Invert than copy and paste
it as a new image in your PSP program,
then resize it smaller to 200 x 200.
(Skip this step if you want a plain one.)
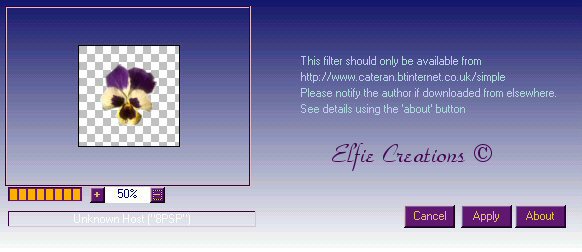
3.) Go to Plug-in Filters/Simple/Diamonds.
(Omit this step for the plain one.)
4.) Go to Plug-inFilters/Quick Tile.
(Omit this step for the plain one the
first time.)
5.) Layers Merge/Merge All flatten.
(Note: If your using PSP 7 add a border
of 1 using the background color I used
#470656 and white as the foreground color
Selections/Select all, Selections/Modify/
Contract by 1 and Selections/Invert now
using the paint brush paint dash lines all
along all four edges in white on your border
Or go to Plug-in filters/Filter Factory
Gallery A/Weave set at:
Size = 50 (You can make this smaller for
more stitches.)
Red = 255
Green = 255
Blue = 255
Deselect.
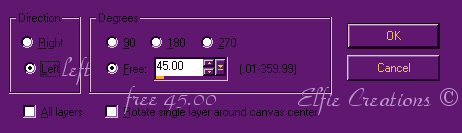
6.) Rotate left 45 degrees.
(make sure you have a color you picked from
the image as your background color or a med.
gray not white or you won't get the quilt
effect.)
7.) Resize to 150 x 150.
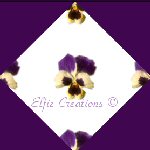
8.) Repeat 4. (This is what makes it look puffy.)
9.) Save as... name it.
That's it simple and easy.
Hope you enjoyed this tutorial and had fun!
___________________________________________________


Click On Button
To Email Me!


You may turn off the
sound by clicking on the
little square button some
where at the top of this page.
~ Music: Picket Fences ~
The music you are listening to is
provided for your listening enjoyment
only.
|